Preparing Your Home for a Property Photoshoot
A few simple steps before the photographer arrives can make a huge difference. Here's my checklist for homeowners and agents.
You don't need to redecorate before a photoshoot. But a bit of preparation goes a long way. After photographing over 1,000 properties, here are the things that consistently make the biggest difference.
1. Declutter every surface
Kitchen worktops, bathroom shelves, bedside tables — clear them down to the essentials. A few well-chosen items look intentional. Clutter looks chaotic in photos, even if it's perfectly normal in daily life.
2. Turn on all the lights
Every lamp, every ceiling light, every under-cabinet strip. Even during the day, artificial light fills shadows and makes rooms feel warm and inviting. Replace any blown bulbs before the shoot.
3. Open curtains and blinds
Natural light is your best friend. Open everything up and let the daylight flood in. If a window has a great view, make sure it's visible and clean.
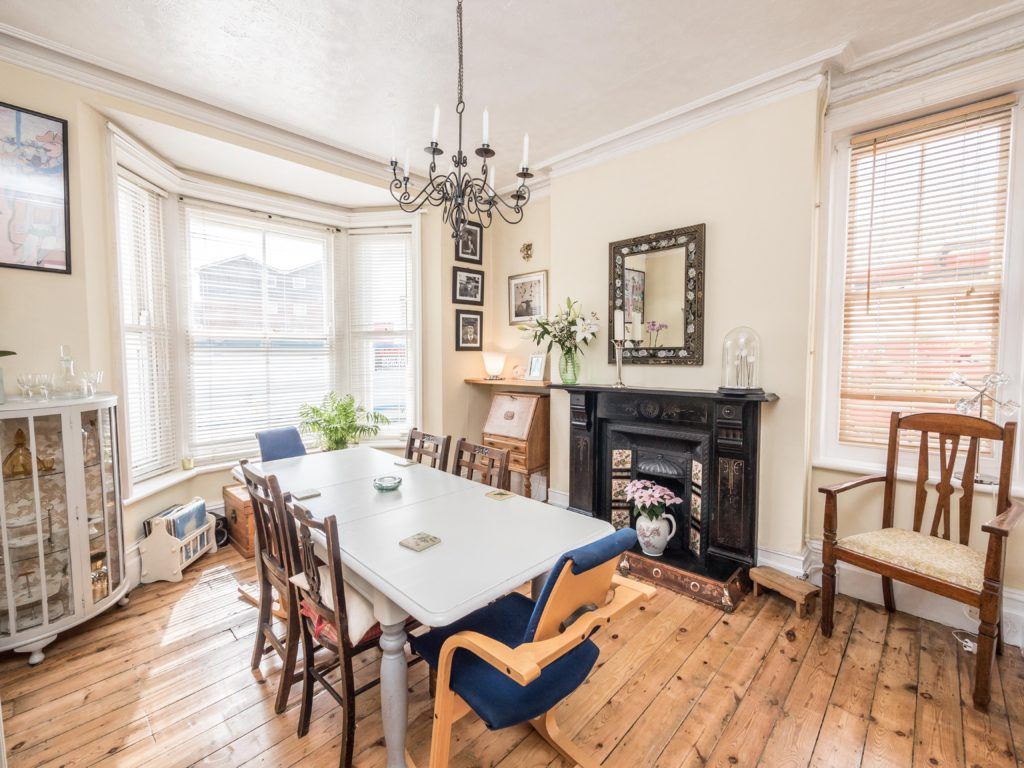
4. Make beds and fluff cushions
It sounds obvious, but a neatly made bed transforms a bedroom shot. Plump up sofa cushions, straighten throws, and make everything look fresh and inviting.
5. Tidy the exterior
Move bins out of sight. Park cars away from the front of the house if possible. Mow the lawn if it needs it. The exterior shot is often the first image a buyer sees — make it count.
6. Hide personal items
Family photos, children's artwork on the fridge, pet bowls — these are lovely in real life but can distract buyers from imagining themselves in the space. Tuck them away for the shoot.
That's it. No need for staging companies or expensive props. Just a clean, tidy space with good light. I handle the rest — angles, composition, and editing — to make sure every room looks its absolute best.
Ready to book a photoshoot?
Send me the property address and preferred date, and I'll come back with a quote.
Get a Quote